next.jsでポートフォリオサイトを作ってS3にデプロイする
概要
nextjs-portfolio-starter (opens in a new tab)をベースにポートフォリオサイトを作成し、S3 にデプロイする方法を説明します。
nextjs-portfolio-starter (opens in a new tab)はNextra (opens in a new tab)というライブラリで構築されていています。
Nextra は next.js ベースの静的ファイルジェネレータで、mdx ファイル(マークダウンと react のコードを組み合わせることができるファイル)を元に、html ファイルを生成することができます。
デプロイ先は Vercel (opens in a new tab)より格段に安価な S3 にします。 デプロイ環境別の料金を比較すると、以下のようになります。
| デプロイ環境 | 料金 |
|---|---|
| Vercel (Pro) | $20 per user / month |
| AWS(S3 + CloudFront + Route53 + Certificate Manager) | 月 200 円程度 |
ちなみに、このサイト自身も同じ構成で S3 にデプロイしています。
ポートフォリオの作成
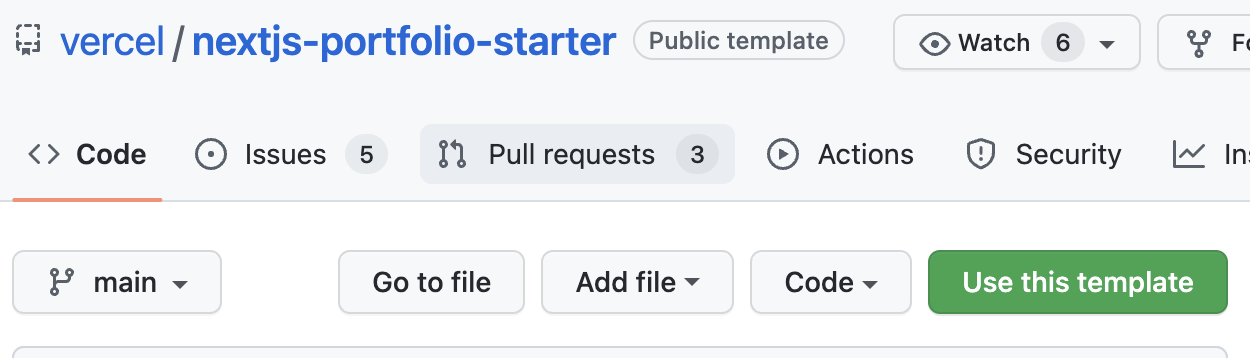
- nextjs-portfolio-starter (opens in a new tab)を開き、
Use this templateボタンをクリックします。
Repository nameを入力し、Create repository from templateボタンをクリックします。- 作成されたリポジトリをローカルにクローンします。
$ git clone git@github.com:you/myportfolio.git- 以下のコマンドを実行し、開発サーバが立ち上がることを確認してください。
$ cd myportfolio
$ yarn
$ yarn dev
next/image の loader を設定する
この状態で静的 html をエクスポートしようとすると、以下のエラーが表示されます。
$ yarn build && yarn next export
...
info  - No "exportPathMap" found in "/Users/you/git/myportfolio/next.config.js". Generating map from "./pages"
Error: Image Optimization using Next.js' default loader is not compatible with `next export`.
  Possible solutions:
    - Use `next start` to run a server, which includes the Image Optimization API.
    - Use any provider which supports Image Optimization (like Vercel).
    - Configure a third-party loader in `next.config.js`.
    - Use the `loader` prop for `next/image`.
  Read more: https://nextjs.org/docs/messages/export-image-api
    at /Users/you/git/myportfolio/node_modules/next/dist/export/index.js:256:23
    at async Span.traceAsyncFn (/Users/you/git/myportfolio/node_modules/next/dist/trace/trace.js:75:20)
error Command failed with exit code 1.
info Visit https://yarnpkg.com/en/docs/cli/run for documentation about this command.
next/image のデフォルトの loader が、next exportコマンドに対応していないためです。
これに対処するために、カスタム ImageLoader を作成します。
- まず typescript 対応を行います。(必須ではありませんが、typescript の方が私の好みのため)
$ touch tsconfig.json
$ yarn add -D typescript @types/react@18.0.1 @types/node- 開発サーバを立ち上げると、
tsconfig.jsonが自動で更新されます。
$ yarn devtsconfig.jsonに baseUrl の設定を追加します。
{
  "compilerOptions": {
    //..
    "baseUrl": "."
  }
  //..
}- 開発サーバを再起動します。
$ yarn devmodelsディレクトリを作成し、その下にimageLoader.tsを作成します。
type PropTypes = {
  src: string
  width: number
}

export const imageLoader = (props: PropTypes) => {
  const { src, width } = props
  return src
}

export default imageLoaderpages/photos.mdxを開き、imageLoader を使用するように書き換えます。
import Image from 'next/image'
import imageLoader from 'models/imageLoader'

<Image
  loader={imageLoader}
  src="/images/photo2.jpg"
  alt="Photo"
  width={1125}
  height={750}
  priority
  className="next-image"
/>
[Unsplash ↗ ](https://unsplash.com/photos/WeYamle9fDM)

<Image
  loader={imageLoader}
  src="/images/photo.jpg"
  alt="Photo"
  width={1125}
  height={750}
  priority
  className="next-image"
/>next.config.jsを開き、images の loader にcustomを指定します。また、trailingSlashを true にします。
trailingSlash を true にしないと、デプロイ後にブラウザをリロードした時に 404 エラーが発生します。
const withNextra = require('nextra')('nextra-theme-blog', './theme.config.js')
module.exports = withNextra({
  images: {
    loader: 'custom'
  },
  trailingSlash: true
})
pages/404.tsx の作成
dynamic routes (opens in a new tab)を処理するため、pages/404.tsx を作成します
import { NextPage } from 'next'
import Router from 'next/router'
import { useEffect, useState } from 'react'

// S3 + CloudFront構成でデプロイする場合は、CloudFrontで以下のカスタムエラーレスポンスを作成する必要があります
// - HTTPエラーコード: 404
// - レスポンスのページパス: /404/index.html
// - HTTPレスポンスコード: 200
//
// 参考: https://github.com/vercel/next.js/discussions/17711#discussioncomment-323735
const Custom404: NextPage = () => {
  const [isNotFound, setIsNotFound] = useState(false)

  useEffect(() => {
    const pathNames = window.location.pathname.split('/')
    if (pathNames[1] === 'tags') {
      Router.replace(window.location.pathname)
    } else {
      setIsNotFound(true)
    }
  }, [])

  if (isNotFound) return <h1>404 - Page Not Found</h1>

  return null
}

export default Custom404
sitemap.config.js の設定
404 ページのレスポンスコードを 200 にした場合、Google Search Console で「ソフト 404」というエラーになります。 それを防ぐために、404 をインデックスに登録しないように設定します。
module.exports = {
  siteUrl: 'https://shinagawa.app',
  generateRobotsTxt: true, // (optional)
  robotsTxtOptions: {
    policies: [
      {
        userAgent: '*',
        allow: '/',
        disallow: ['/404']
      }
    ]
  }
  // ...other options
}
静的 HTML を作成
yarn next exportコマンドを実行すると、html が out ディレクトリにエクスポートされます。
$ yarn build && yarn next export
...
Export successful. Files written to /Users/you/git/myportfolio/out
✨  Done in 1.22s.
S3 に静的 HTML を配置
outディレクトリに HTML ファイルがエクスポートされているので、それを s3 にデプロイします。
AWS コマンドラインインターフェース (opens in a new tab)をインストールしていれば、以下のコマンドでデプロイできます。
$ aws s3 sync --region ap-northeast-1 ./out s3://your-bucket --deleteCloudFront, Route53, Certificate Manager の設定
あとは、CloudFront, Route53、Certificate Manager などを使って S3 を公開してください。
ポイントは以下の通りです。
- S3 の 静的ウェブサイトホスティング 機能を有効にする。
- これにより、S3の[パブリックアクセスをすべてブロック]はオフになってしまう。
- Referer を使って S3 への直接アクセスを禁止する。
以下の記事が参考になると思います。
- Next.js の Static HTML Export で生成したファイルを Lambda@Edge を使わずに CloudFront + S3 にデプロイする (opens in a new tab)
- Next.js を S3 + CloudFront にデプロイする (opens in a new tab)
- ムームードメインで AWS Certificate Manager(ACM)の SSL 証明書を取得する
また、dynamic routes を処理するため、CloudFront のカスタムエラーレスポンスを以下の設定で作成します。
- HTTP エラーコード: 404
- レスポンスのページパス: /404/index.html
- HTTP レスポンスコード: 200